Online Stained Glass Course
On this page we will present a real online stained glas course, you will be accompanied by images, texts and videos that will explain the different techniques of this art, You will be guided from cutting glass, to grisaille painting, enamels and silver stain, up to leading and cementing.
Learning to Make Stained Glass
This online stained glass course is not intended to be a substitution for a traditional course in stained glass, obviously without hands on practice, which is by far the most important element of a stained glass course, it would be difficult to become a master of this craft. But we hope that this on-line stained glass course will provide a useful reminder for those who have attended a course or for un-initiated, a springboard into the wonderful world of stained glass.
To help you learn effectively the phases of work the online stained glass course have been separated into their individual components and each phase is supported with photos, videos and written materials.
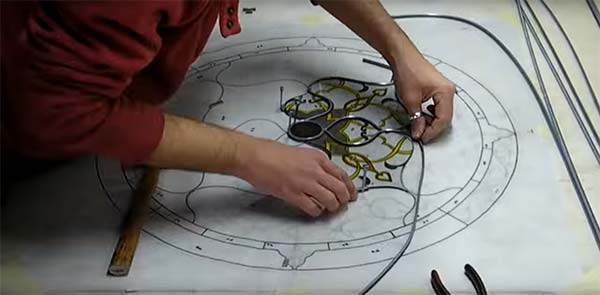
The Design
One of the first things a budding stained glass artist needs to decide upon is the design they are going to follow. Choose something too complicated and you run the risk of never finishing it, and you’ll loose time and motivation, so it’s worth beginning with something simple, and step by step working up to more complex projects. For the beginner I recommend visiting sites that offer stained glass patters, not to copy them, but rather to get some ideas.
The design, or draft is drawn in pencil and usually to scale. With widespread availability of plotters and large printers it is also possible to enlarge the designs to the exact scale you desire. Once the the design is drawn to scale, you can colour it with water-colour paints, to help you choose the palate of glass you will use.
Cut Lines
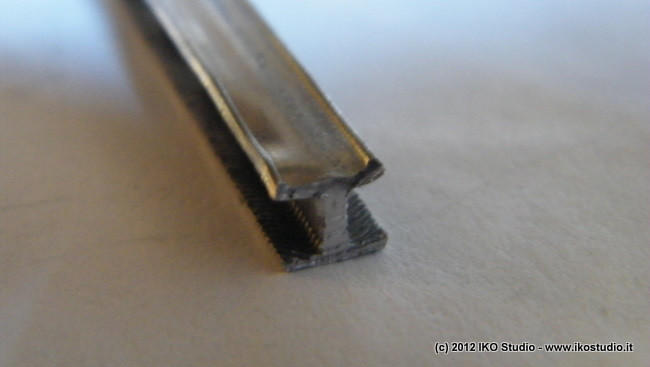
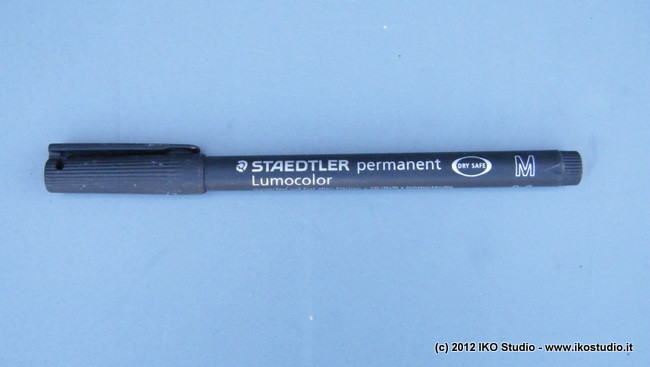
These are the lines that the lead strips will follow exactly. The lead strips have cross-section in the shape of an “H”, on its side. This enables it to hold two pieces of glass in position next to each-other. The centre of the cross section is about 1.2mm thick and medium nibbed indelible marker pens produces a line about the same thickness.
But to protect your design I recommend using a sheet of tracing paper and drawing the cut lines on this. If you should make a mistake, it is possible to rub out the indelible ink using a razor blade by gently scratch the surface of the tracing paper.
The cut lines always follow the path where there are changes in colour, remember stained glass is a mosaic of coloured glass, and there the glass tiles meet, there needs to be a cut-line.

Cutting the Glass
A diamond wheel is used to cut the glass. These are readily available on the market. The glass cutter is held more or less like a pen with the index finger positioned on the head affording you plenty of control. I recommend that you choose one with a small head that will enables you to watch the wheel as it is following the cut-lines perfectly and it will offer you more control.
The wheel needs to be kept well lubricated with oil. You shouldn’t press too hard on the glass cutter as you move it along the glass, just hard enough so that you can hear the scratching sound it makes when it is cutting the glass. The line that the glass cutter leaves behind should be almost transparent. If it is not and it is white, it indicates that the wheel needs more lubrication.
The glass cutter its self does no more than break the surface tension of the glass, in order to cut the glass completely, the glass cutter needs to pass from one edge to another, weaking the glass along the line and then with the force of your hands, or pliers, glass can then be broken.
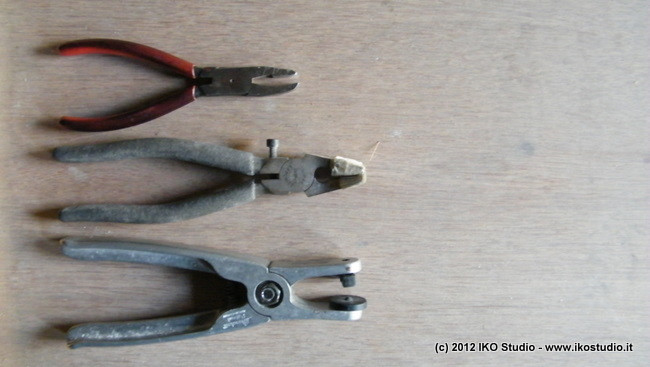
There are a variety of pliers available on the market that will help with this phase, according to the type of cut you are trying to achieve.
Video: Glass cutting

Video: Glass Painting
Video: Leading
Glass painting phase
The Glass Paint
The paint used as the base for the stained glass is composed of a mixture of various oxides and finely powdered glass, there are several colours of glass paint but the most commonly used are brown and black.
The glass paint is mixed in a various different ways, depending upon what it is being used for. The tracing lines use a synthetic medium or essential oils with a little turpentine added. For a wash, it is mixed with water and on occasions with a little Arabic gum.
For the tracing lines we use specialised brushes with medium to long hairs, that are thin and have a pointed tip. I source these brushes from England. For the wash we use a wide tipped badger brush (that I hope come from badgers who have been shaved rather than killed).
You should rest your hand, whilst painting, on a wooden block so that you don’t touch the painting work you have already done and therefore ruin it.
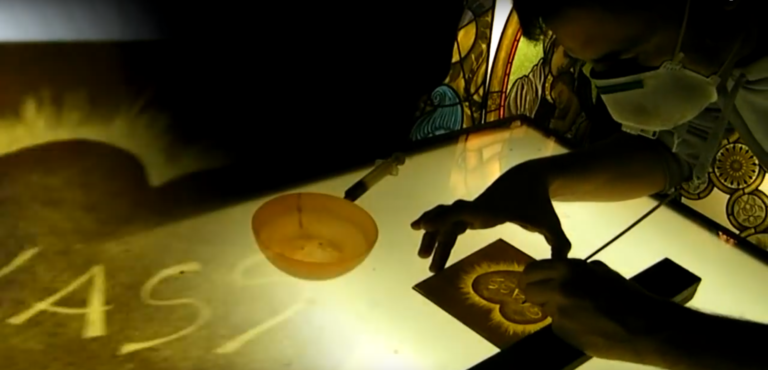
To paint the stained glass you should to place your design on top of a light table, and work with the glass tiles perfectly positioned on the design. The tracing lines of the project should be applied using an appropriate brush.
The “wash” should be applied to the glass in the most uniform way possible using a wide, pointed brush, sometimes referred to as a matting brush. The badger softening brush should be used whilst the wash is still wet. This brush held softly and vertically against the glass. Using delicate strokes in various directions you should spread the wash uniformly over the entire surface of the glass.
Once the wash has completely dried the next phase of working the glass paint begins. Here you should use a rigid paint brush which will remove the glass paint from the areas of the design that require light, leaving the wash on the shaded areas. The wash can also be scratched off using a tool with a pointed end, for example the handle of the paint brush, or a tooth-pick. This phase is perhaps the most complicated of the glass painting phases and requires a lot of practice to obtain the type shading you require.
The painting is carried out over several phases, gradually building up the shading. The paint is fixed permanently to the glass at the end of each phase by kiln firing it at a temperature of around 650°C. Each piece of glass ends up being fired several times, depending upon the effect you are trying to achieve.


The Enamels
Enamels are coloured pigments that are either opaque or transparent. The transparent enamels are more commonly used with stained glass. They are made of a powdered glass and various oxides, which give them their colour. They only become transparent after they have been fired, prior to this they have an opaque appearance. They are fired at a slightly lower temperature than the glass paint, 630°C-640°C. They are applied to the glass using a normal brush and then softened using a badger brush, just as was done with the wash. Each layer of enamel that is applied to the glass intensifies its colour.
Please note: enamels should not be used as a substitute for coloured glass, they are used to colour small areas of the glass tile instead.
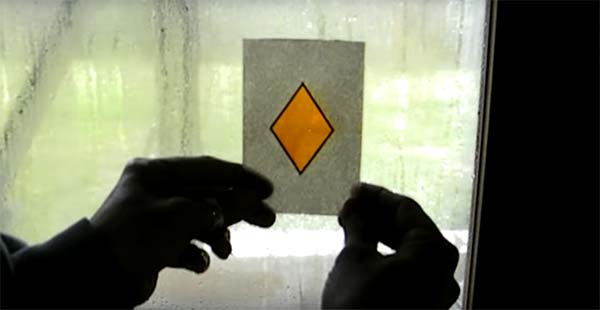
Silver Stain
Yellow silver is a glass stain whose tonality can vary from lemon yellow to orange. It is applied to the glass surface in the opposite way to glass paint. In this case it is applied, fired and then removed . Prior to firing it has a red-brown colour once fired (at the same temperature as glass paint) it doesn’t appear that different, but with the use of a wet sponge, the pigment is removed exposing the glass, which has been chemically stained with a intense colour.
Yellow silver behaves differently with different types of glass, and some glass, due to its composition, does not take the stain very well, and the effect is not homogeneous, so yellow silver can not be used. Therefore, it is a good idea to test a tile of the glass you are using (unpainted of course) to check its suitability – this avoids throwing away a tile you’ve painted and fired, because the stain ruins it. If the glass you are using does not take the Yellow Silver stain particularly well a similar effect can be achieved with a simple enamel.

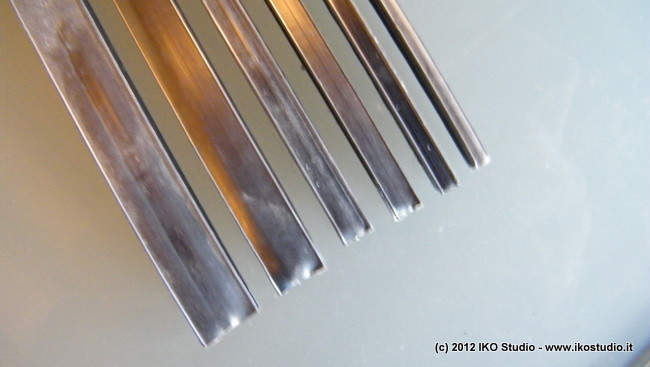
Leading Up
Once the glass tiles have been painted, stained and enamelled they are ready to be pieced together using lead strips. Lead strips are sold in various dimensions. For the boarders of the panel 12/10 mm can be used, whereas for the interior lines, a thinner, subtler type is used which is about 2.5mm thick.
The design with cut-lines is placed in position on a wooden table. When the panel is rectangular or square it can be fixed on two sides with wood strips. Care must be taken that the lines of lead correspond exactly to the perimeter lines of the design. If the panel is round you begin by putting the lead for the perimeter in place and holding it there with nails, so that it doesn’t move. The nails that are used are the same ones used for horse-shoes. They have a square cross-section and rest against the glass without breaking it.
The first glass tile is positioned and fixed with horse-shoe nails, and then the first piece of lead is then positioned. Because the lead is malleable, it can follow the perimeter of the glass tile perfectly. Next, the second glass tile is put into position along with the second piece of lead, and so on, until the panel is completed. This phase also requires considerable practice, and a live demonstration and coaching is indispensable.
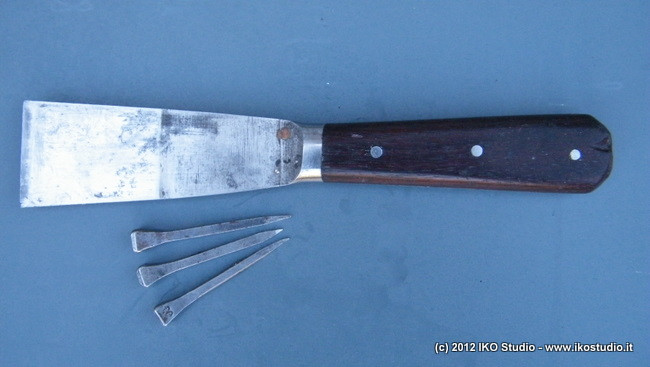
The lead is cut with a lead cutting knife, many stained glass artists use a model called Don Carlos with a curved blade, personally I opt for a spatula which I find gives me more control. The lead cutting knife must always be kept sharp and care needs to be taken when using this to avoid injury.
During the leading up phase, every glass tile should follow the cut-lines, that can be see on the design under where you are working. This indicate that you are doing a good job. The leading up phase is completed when your stained glass panel is closed by the last piece of lead for the perimeter being put into place.
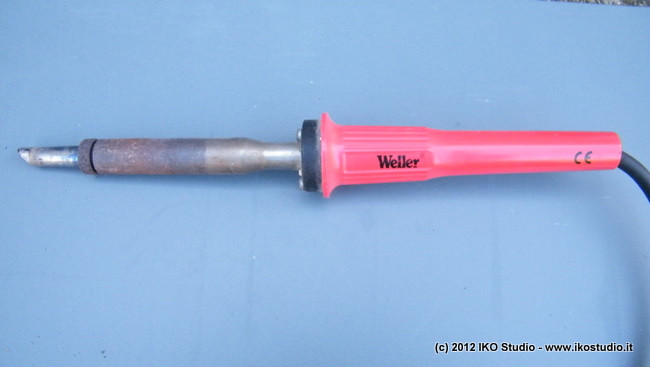
Soldering
The lead slips are soldered together, creating a single panel. Each joint is first moistened with liquid flux so that the tin solders effectively to the lead and then a special soldering iron is used. The iron differs from the standard electrical soldering iron in that it is more powerful. There are various types on the market, but for the beginner I recommend one with a thermostat so that it doesn’t over heat and meant the lead strip as well.
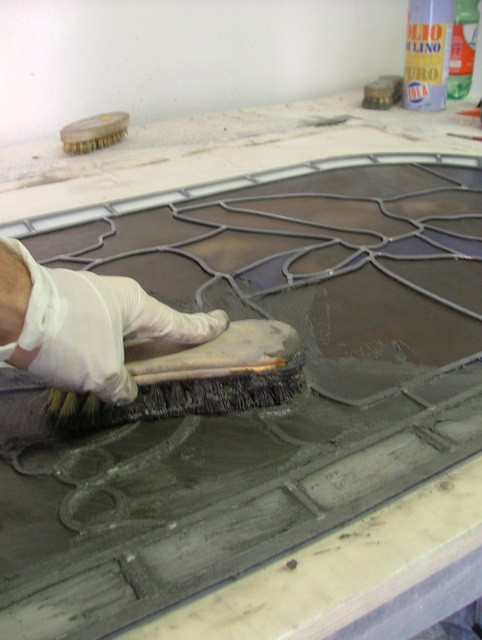
Cementing
This is the last phase and involves filling the spaces between the lead and the glass with a special cement paste which helps make the stained glass rigid and weather-proof. The cement is made using chalk (Spanish white or Meudon white) with black colour which helps to darken the paste. This is then mixed with 50% linseed oil and 50% oil of turpentine in order to obtain a creamy texture.
Using a spatula the cement paste is applied to the window ensuring it penetrates all the spaces between the lead and the glass. Then the window and lead strips are given a general clean to remove excess cement and then the panel is left to dry for 24 hours.
A day later and the cement is more compact, and using a horse-shoe nail, excess cement around the lead can be scratched away and then any cement remaining on the glass can be cleaned off using a rigid brush.
Once the window is clean, energetically rubbing the lead with a soft brush, blackens and polishes it.
And your stained glass is complete!
We hope you enjoyed this online stained glass course
All the videos of the online stained glass course are available at my youtube account